SharePoint Framework tips & tricks: avoid css styles leaking from third party libraries
Sometimes when working on SharePoint Framework projects you have a need to use third-party libraries with their own css styles. You can include css styles using different technics - via import statement right in your code or using dynamic loading with SPComponentLoader. However, some css libraries have very common selectors, which affects Html in the “outside world”.
For example, a library might include a css style for an element with class “some-class”. This particular class might also be in SharePoint out-of-the-box styles. As a result, it breaks the UI:
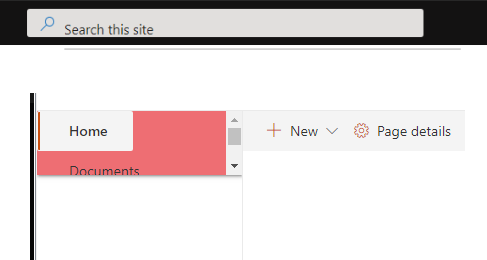
It’s called css leakage.
How to prevent it? There is a way to fix it if a library code has saas sources (with .scss extension). Let’s use materialize.css as an example. On the image above you see what will happen if you include materialze.css into your SharePoint Framework web part using either SPComponentLoader or import statement. It simply breaks the SharePoint user interface. So let’s fix it!
As usual, the sample is available at GitHub spblog organizational profile - https://github.com/spblog/spfx-avoid-css-leakage
Install materialze.css first:
$ npm install materialize-css --saveThen in the root of your web part(s) create a new file called materialize-custom.scss and add below code:
.my-app {
  @import 'node_modules/materialize-css/sass/materialize.scss';
}
Import custom materialize file in the top-most location of your code:
import "./materialize-custom.scss";Now if you want to use materialize styles, simply add “my-app” css class to the parent element:
export default class HelloWorld extends React.Component<IHelloWorldProps, {}> {
  public render(): React.ReactElement<IHelloWorldProps> {
    return (
      <div>
        <div className="my-app">
          <a className="waves-effect waves-light btn">Materialize button</a>
        </div>
        <div>
          <a className="waves-effect waves-light btn">Just a regular text, no materialize effect!</a>
        </div>
      </div>
    );
  }
}
The trick is, that sass preprocessor automatically adds .my-app selector to all selectors inside the “materialize.scss”, so that it becomes:
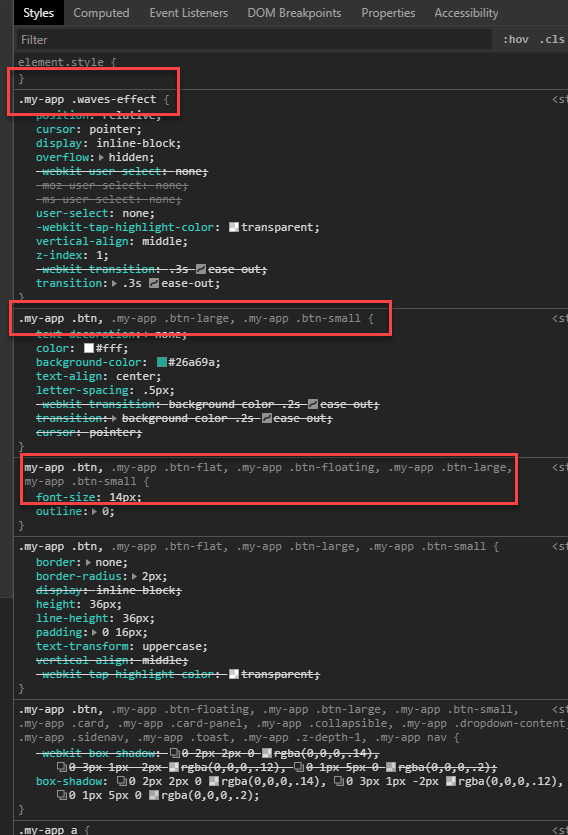
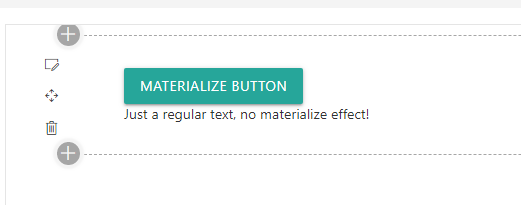
The result:
Alternatively, if you don’t want to use additional .scss files inside your project, you can generate resulting .css file using any sass compiler, for example, gulp-sass. Simply create a gulpfile (or use SharePoint Framework’s one), create a source.scss file put exactly the same code as in my sample above, and run sass compilation.
var gulp = require('gulp');
var sass = require('gulp-sass');

sass.compiler = require('node-sass');

gulp.task('sass', function () {
  return gulp.src('./source.scss')
    .pipe(sass().on('error', sass.logError))
    .pipe(gulp.dest('./css'));
});
As a result, you will have a ready-to-use .css file which you can include in your project via a regular import statement.
As said, this trick only works for libraries that have sass sources.
Title image attribution: House photo created by rawpixel.com - www.freepik.com