Call Azure AD secured API from your SPFx code. Story #1: Azure Functions with cookie authentication (xhr "with credentials").
Call Azure AD secured API from your SPFx code series:
- Call Azure AD secured API from your SPFx code. Story #1: Azure Functions with cookie authentication (xhr “with credentials”) <—you are here
- Call Azure AD secured API from your SPFx code. Story #1.1: Azure Web App with ASP.NET Core 2.x and cookie authentication (xhr “with credentials”)
- Call Azure AD secured API from your SPFx code. Story #2: Web app (or Azure Function) and SPFx with adal.js
- Call Azure AD secured API from your SPFx code. Story #3: Web app (or Azure Function) and SPFx with AadHttpClient
Imagine a very common scenario, when you need to send HTTP request to your backend API to get or store some data from your SPFx web part. Of course, you can’t leave your API without any authentication layer. Using Azure AD authentication for that matter is a very good choice because you leverage SSO within your organization. The question is, how to properly get an access to those API in a secure and seamless manner. One option might be using cookie authentication. This approach doesn’t use well-known library adal.js, at the same time it’s simple, however, has its own cons (read at the end of the article). More info about this approach you can find here - Access the API by leveraging SharePoint Online authentication cookie. In another post, I will show how to do the same thing using SPFx’s AadHttpClient.
We are going to perform below steps:
- Create a simple Azure Function in Visual Studio.
- Create Function App and deploy our code to the Function App in Azure Portal.
- Create new App Registration in Azure AD.
- Setup Azure AD authentication for Function App.
- Create simple SPFx webpart, which gets data from our Azure Function via authenticated HTTP request.
Let’s get started.
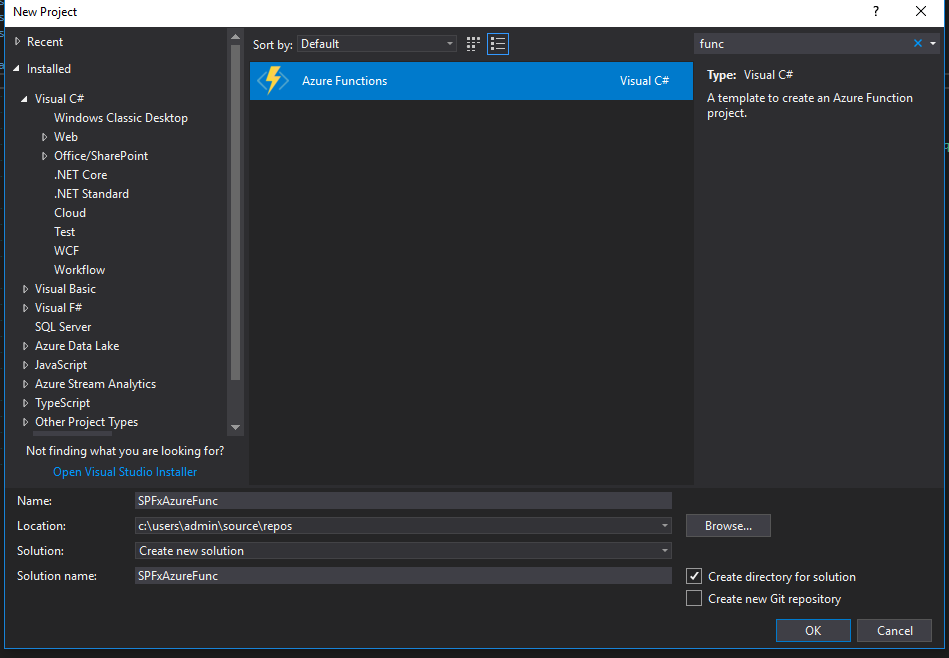
1. Create a simple Azure Function in Visual Studio.
In Visual Studio select Azure Functions project and give a project a name:
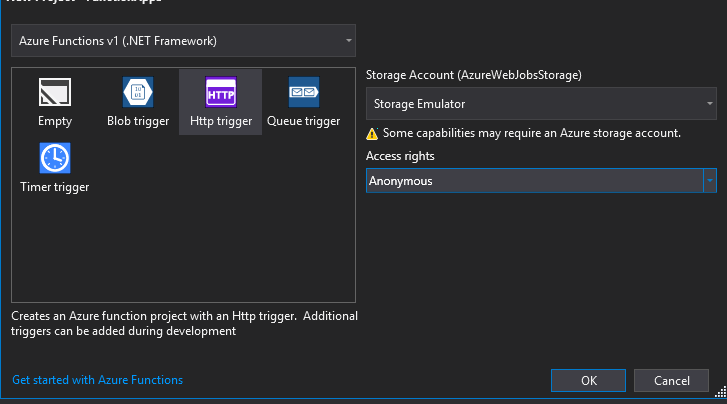
In next screen select HTTP trigger and Anonymous as Access rights:
Remove everything from default function and paste below code:
[FunctionName("clients")]
public static async Task<HttpResponseMessage> Run([HttpTrigger(AuthorizationLevel.Anonymous, "get", "post", Route = null)]HttpRequestMessage req, TraceWriter log)
{
	var clients = new List<dynamic>
	{
		new
		{
			Name = "Tim Perez"
		},
		new
		{
			Name = "John Smith"
		},
		new
		{
			Name = "Irene Ackles"
		}
	};

	var response = new HttpResponseMessage(HttpStatusCode.OK)
	{
		Content = new StringContent(JsonConvert.SerializeObject(clients), Encoding.UTF8, "application/json")
	};

	response.Headers.Add("Access-Control-Allow-Credentials", "true");
	response.Headers.Add("Access-Control-Allow-Origin", "https://your-org.sharepoint.com");
	response.Headers.Add("Access-Control-Allow-Methods", "GET,POST,OPTIONS");

	return response;
}
This very simple code returns some data from our function. The lines, which add Access Control headers are very important. Because of CORS limitations, you can’t call external service from a different domain, these lines allow you to do that. They explicitly say, that “hey, you can make a CORS call only from https://your-org.sharepoint.com”.
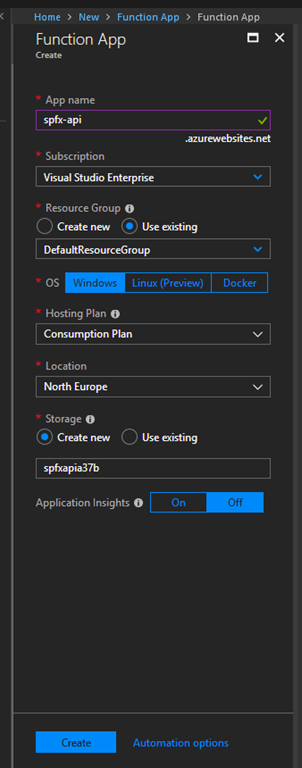
2. Create Function App and deploy our code to the Function App in Azure Portal.
Go to Azure Portal, click on Create a Resource, select Function App. Fill in all required fields and click Create. You should have something similar to the image below:
Go back to Visual Studio and right click on your project –> Publish. Select your newly created Function App and wait for publishing to be completed. Now you can copy function URL from the portal and test it in your browser:

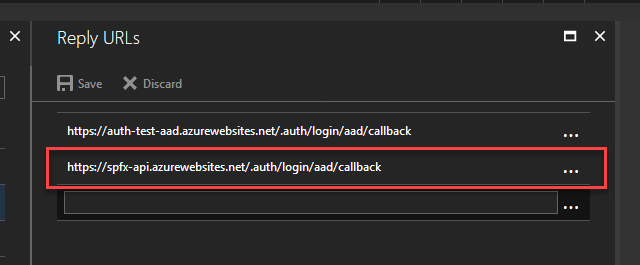
3. Create new App Registration in Azure AD.
In Azure Portal, click Azure Active Directory –> App Registration. Create new registration using Web API and give any name for the app. Go to app Reply URLs and put callback url to your function app. This might be tricky. The url should be in a format “https://your-api.azurewebsites.net/.auth/login/aad/callback”. For example, for me it looks like below:
Copy ApplicationID from the app properties. We need it in the next step. You should also copy your TenantId. In Azure Portal, you can click on Azure Active Directory once again and select Properties. Copy Directory Id.
4. Setup Azure AD authentication for Function App.
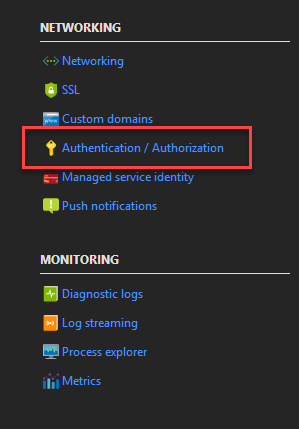
In Azure Portal, open your Function App and select Platform Features in the top. Then click Authorizaiton\Authentication:
Click on App Service Authentication “On” and select Azure AD from the list in the bottom. Select Advanced setup. For Client ID paste Application ID from the previous step. For Issuer Id paste https://sts.windows.net/

You should perform one additional important thing here. Under Platform Features, goes to CORS section and delete all URLs from there (as we handle Access-Control headers in your function). Without this step, it won’t work.
Basically, this is it for Azure AD authentication setup. Now you can try to open your Azure Function URL in a browser and you will see a redirect to the authentication page.
5. Create simple SPFx webpart, which gets data from our Azure Function via HTTP request.
Now let’s go ahead and finally create SPFx web part to test everything together. I’m going to use a very simple scenario. Generate new SPFx webpart using “No Javascript framework” option.
Paste below content in render function:
this.domElement.innerHTML = `
  <div><iframe src="https://spfx-api.azurewebsites.net/"></iframe></div>`;

this.domElement.querySelector("iframe").addEventListener("load", (): void => {
  this.context.httpClient.get("https://spfx-api.azurewebsites.net/api/clients",
	HttpClient.configurations.v1, {
	  credentials: "include"
	})
	.then((response: HttpClientResponse): Promise => {
	  if (response.ok) {
		return response.json();
	  } else {
		return Promise.resolve(null);
	  }
	})
	.then((data: any[]): void => {
	  console.log(data);
	})
	.catch((error: any): void => {
	  console.log(error);
	});
});
Of course, you should replace urls with your actual API urls. Now, if you run gulp serve and open your web part in hosted workbench (_layouts/15/workbench.aspx, this is very important, it won’t work in local workbench with real API, not local), you will see your data in the console. How does it work?
The idea behind this approach is very simple. As you are at the same tenant, your iframe should be automatically redirected to your Function app home page (thankfully to SSO). After redirection authentication cookie will be stored in your browser. credentials: “include” makes it possible to send cookies with AJAX request, that’s why the request is successful and we have our data back. The important thing is our Access-Control headers setup I describe above.
Conclusion
You can use this solution to securely call your Azure AD protected API from SPFx code. However solution has some drawbacks you should be aware of. Consider everything carefully before making the final decision:
- HTTP POST doesn’t work in case of Azure Functions configured with EasyAuth. HTTP PUT also seems doesn’t work, it sends unnecessary 302 redirect, that’s why request fails. I haven’t found a way to make it work. Thus I conclude that you can’t use Azure Functions with EasyAuth and credentials auth with HTTP POST or PUT requests. This is a huge limitation if you want to use Azure Functions as your API backend. The workaround would be using regular Azure Web App and implementing authentication on your own. Read a separate article about this approach [link to be added].
- because of iframe nature, you might have issues with IE security zones
- you can query only your own API, you can’t use the same approach for MS Graph for example or any other Office 365 related API
- you can’t provide wildcard (*) in CORS setup and you can’t provide multiple domains – only one allow-origin domain is possible
In next post, I will give you details on how to call your API using OOB SPFx classes (at the moment in preview).